How to Gua Sha
Esthetician and owner of Skin-Healer in Rockland, Maine
If I were asked what is the most important thing you can do to care for and transform your skin, my answer might surprise you. To me, your home routine is the most important, metamorphic aspect of your skin care. After all, it is your home routine that will deliver the most consistent care. You know your skin better than anyone and by engaging with it on a daily basis, you have the power to change the expression and health of your skin. Finding the right product is the first step in a solid home care routine. The next step is finding the right tool or tools to augment your product choice. There are numerous items available in today’s market, but the one that stands out in my mind for its simplicity, accessibility and bountiful benefits is the gua sha tool.

What is Gua Sha?
The more poetic translations of gua sha include ‘bringing out sand’ or ‘scraping away the pain’. It is a technique that has been used for many hundreds, even thousands of years in Traditional Chinese Medicine by both practitioners and laypeople alike. Traditionally gua sha was performed with whatever flat-sided object was on hand, including wooden spoons, metal objects, stones and animal bones. These objects were used to scrape the skin vigorously, bringing blood flow to the surface to relieve pain, muscle tension and even to dispel colds. The scraping motion would create bruises which include speckled dots, hence the sand reference. The darker and more pronounced the bruising, the greater the blood and energy flow, increasing the potential for healing.
I discovered gua sha as a facial technique when I was training to become an esthetician. One day, while searching for massage tutorials, I came across a video of a woman gently scraping her face in upward motions using a ceramic soup spoon, the same type of spoon I had used countless times in Asian restaurants. After asking a trusted teacher about the technique, she gifted me with my own spoon and my gua sha practice began. Fast forward to today and the gua sha tool evolution has exploded.
What are the Benefits of Gua Sha?
1. Stimulates blood flow to the skin, increasing microcirculation and oxygenation, helping with collagen production, which can help minimize fine lines and wrinkles.
2. Stimulates lymphatic drainage, clearing out fluid stagnation, increasing that coveted glow and relieving puffiness.
3. The gliding motion of the gua sha tool is said to break up adhesions in our fascia, the lowermost layer of skin. By doing so, relaxing areas where we hold tension and potentially warding off wrinkle production.
4. The simple act of gliding the tool across the skin, increasing circulation and warming the skin helps to enhance the absorption and efficacy of your chosen products.
5. The rhythmic motions of gua sha can induce a relaxation response in your body, moving you into a parasympathetic state and calming your nervous system.
6. It feels good!
How Do I Choose A Gua Sha tool?
This next generation of gua sha tools are specifically crafted to meet the needs of a facial routine. When choosing the right tool to introduce into your skincare routine, there are a few things to consider.
First, find a gua sha tool that fits your aesthetics. Humans tend to reach more often for the things that they find beautiful, or as Marie Kondo would say, bring them joy. If your love for your gua sha tool is what motivates you to use it, success! Find a quality tool, made from quality stone, from a reputable source. Some would say tune into the energetics of the stones and choose one based on its qualities. For example, Jade, a traditional choice, has cooling properties and symbolizes balance and harmony. Rose quartz, unconditional self love. Jasper, ‘a supreme nurturer’.
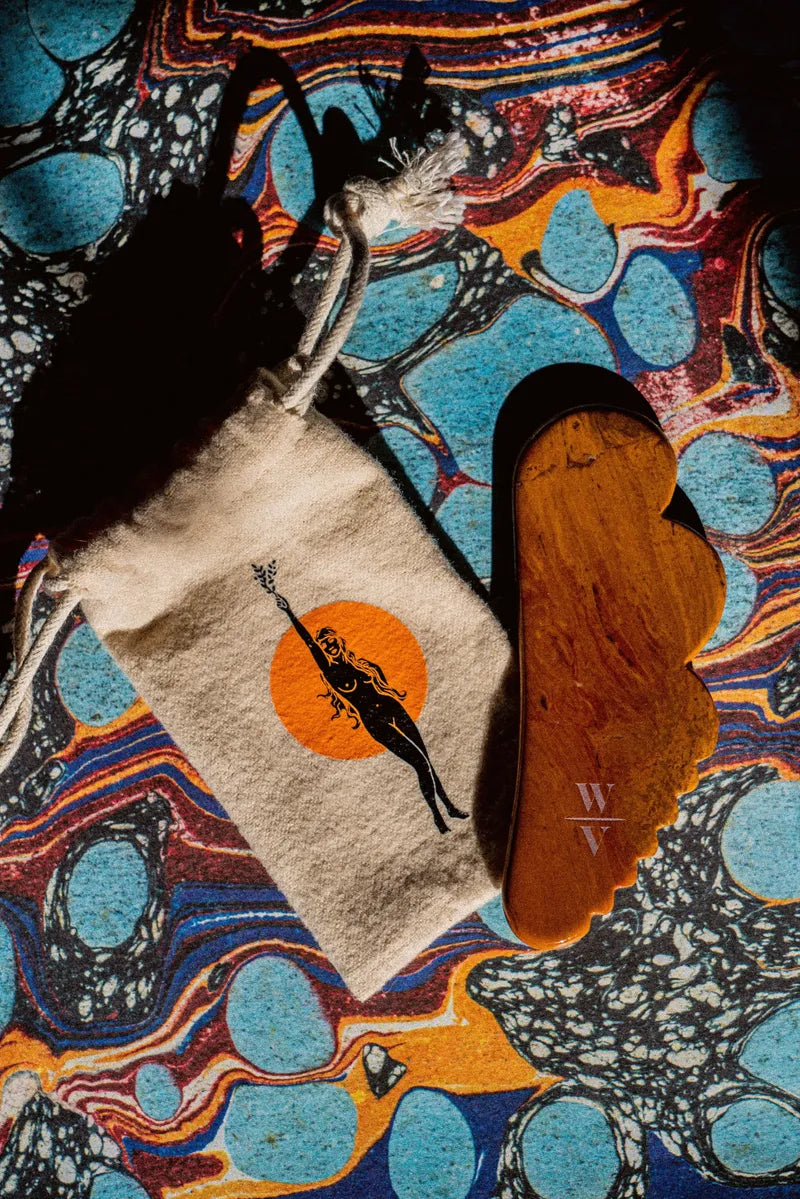
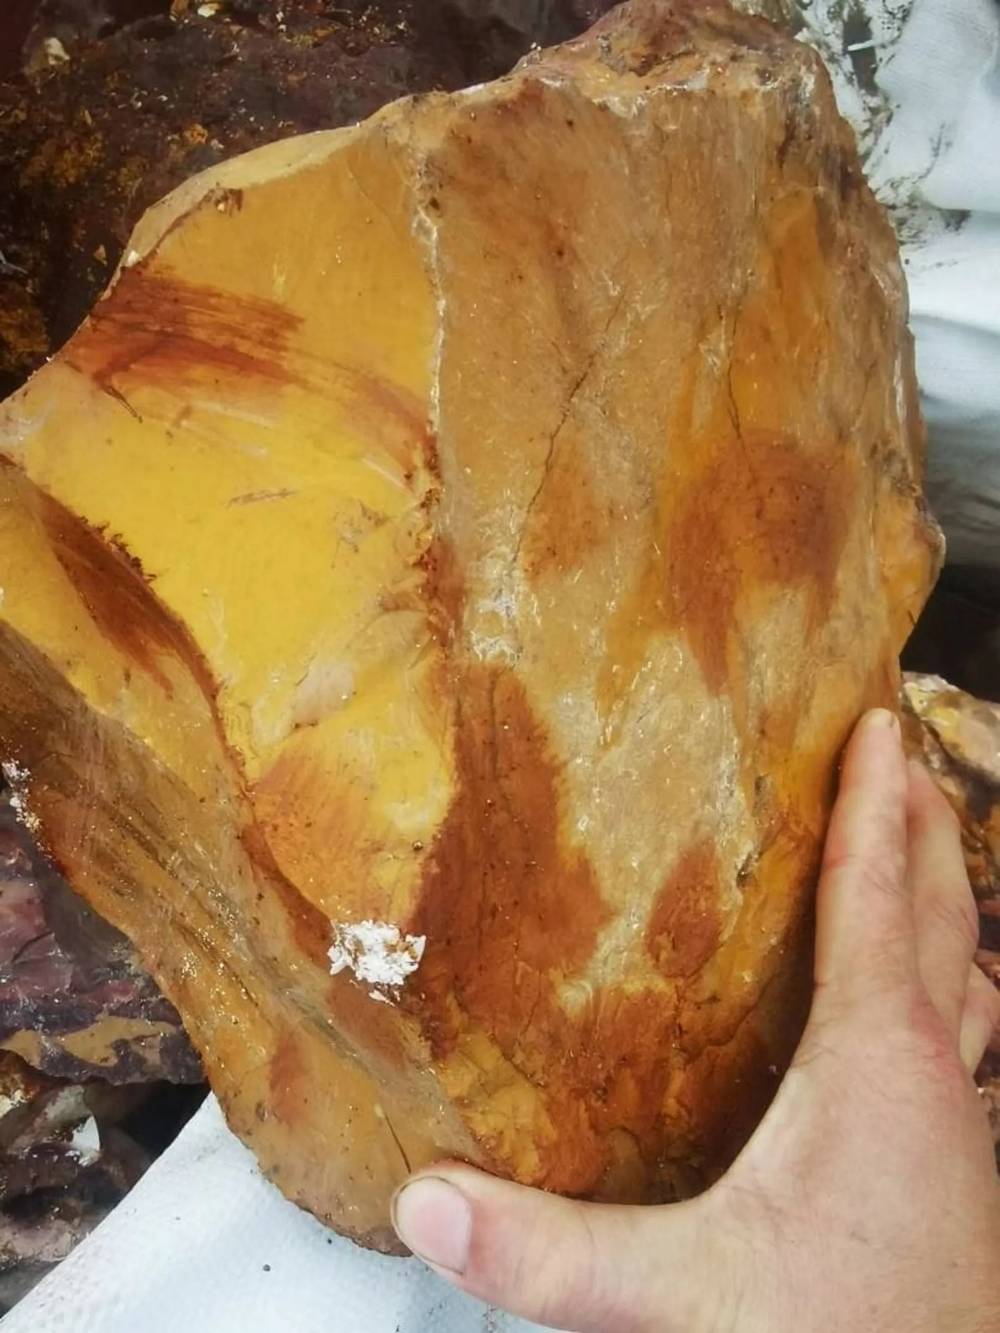
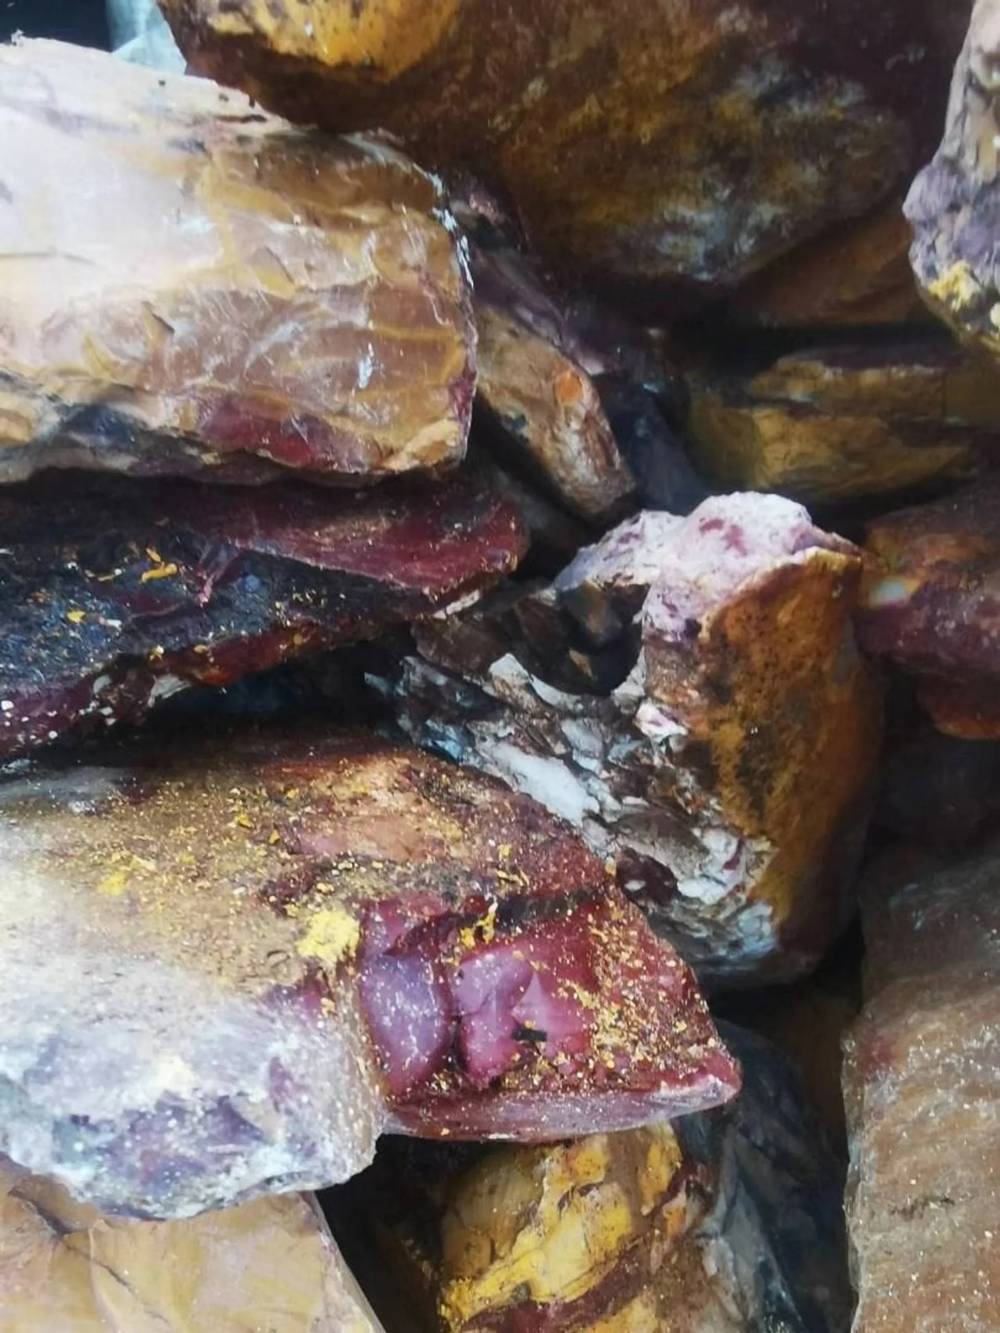
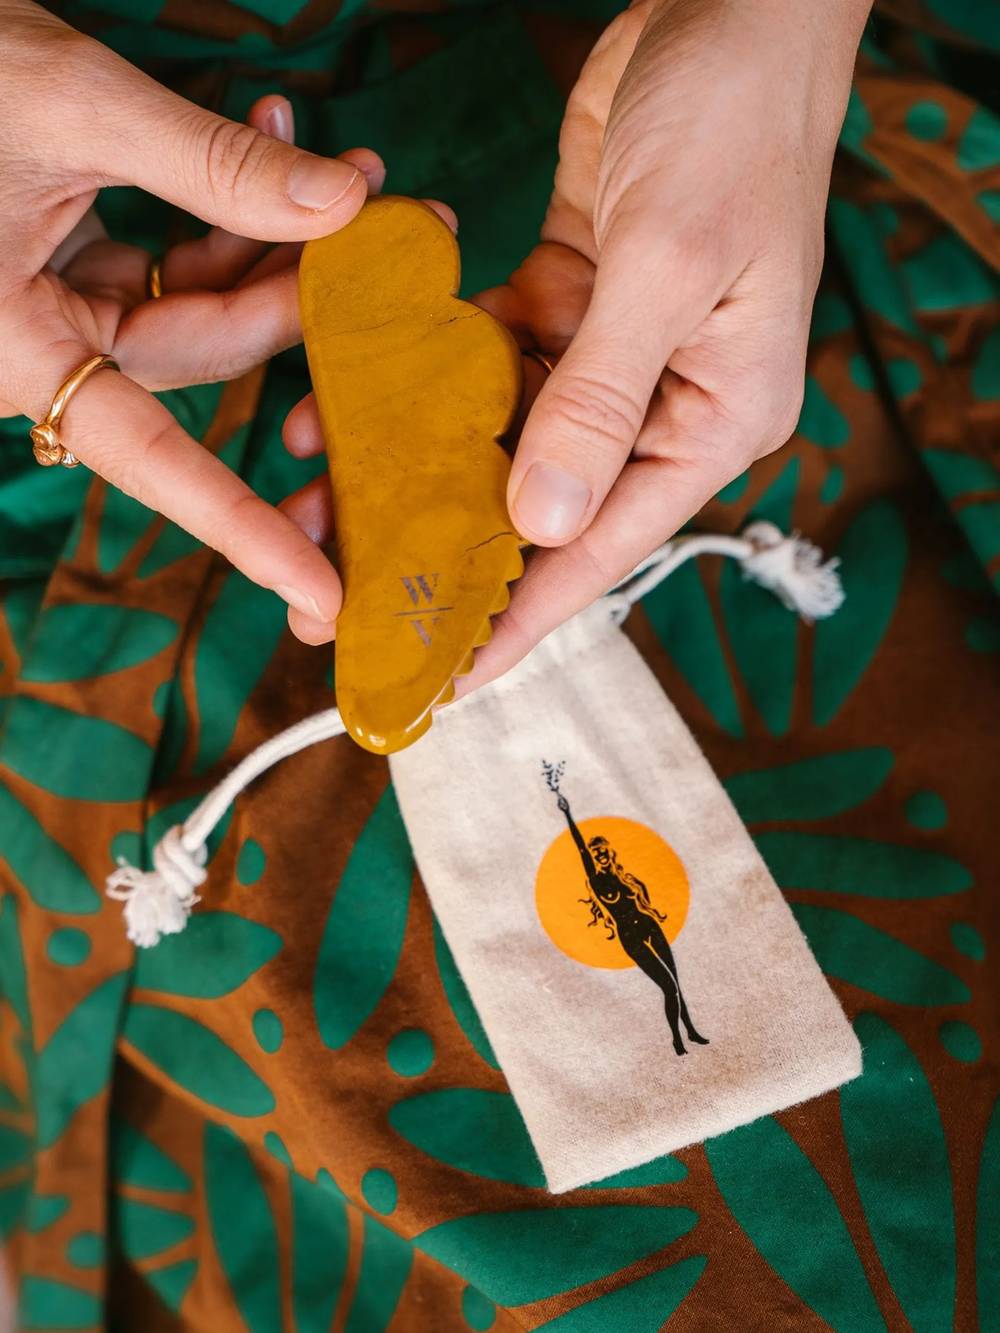
Second, but most important, consider the shape and function. How the tool feels in your hand and what design elements are included are two qualities to keep in mind. I recommend finding a tool that straddles the space between simple and complicated; one that gives you room to grow but will not overwhelm you. A gua sha tool with a long, slightly contoured side, a side with curved edges and divets and a side with “teeth” is a good place to start. These three aspects make the tool versatile and offer the ability to address multiple concerns. For me, Wonder Valley’s Gua Sha Tool checks all the boxes and more. Responsibly sourced from Australia, made from Mookaite Jasper, said to “promote an ageless spirit…and awaken’s one’s natural instincts,” the tool has three distinct sides, which respectively clear stagnation, contour and sculpt and relieve facial tension. And, it’s a beauty that I would excitedly reach for again and again.
Can You Suggest Some Basic Tips to Begin?
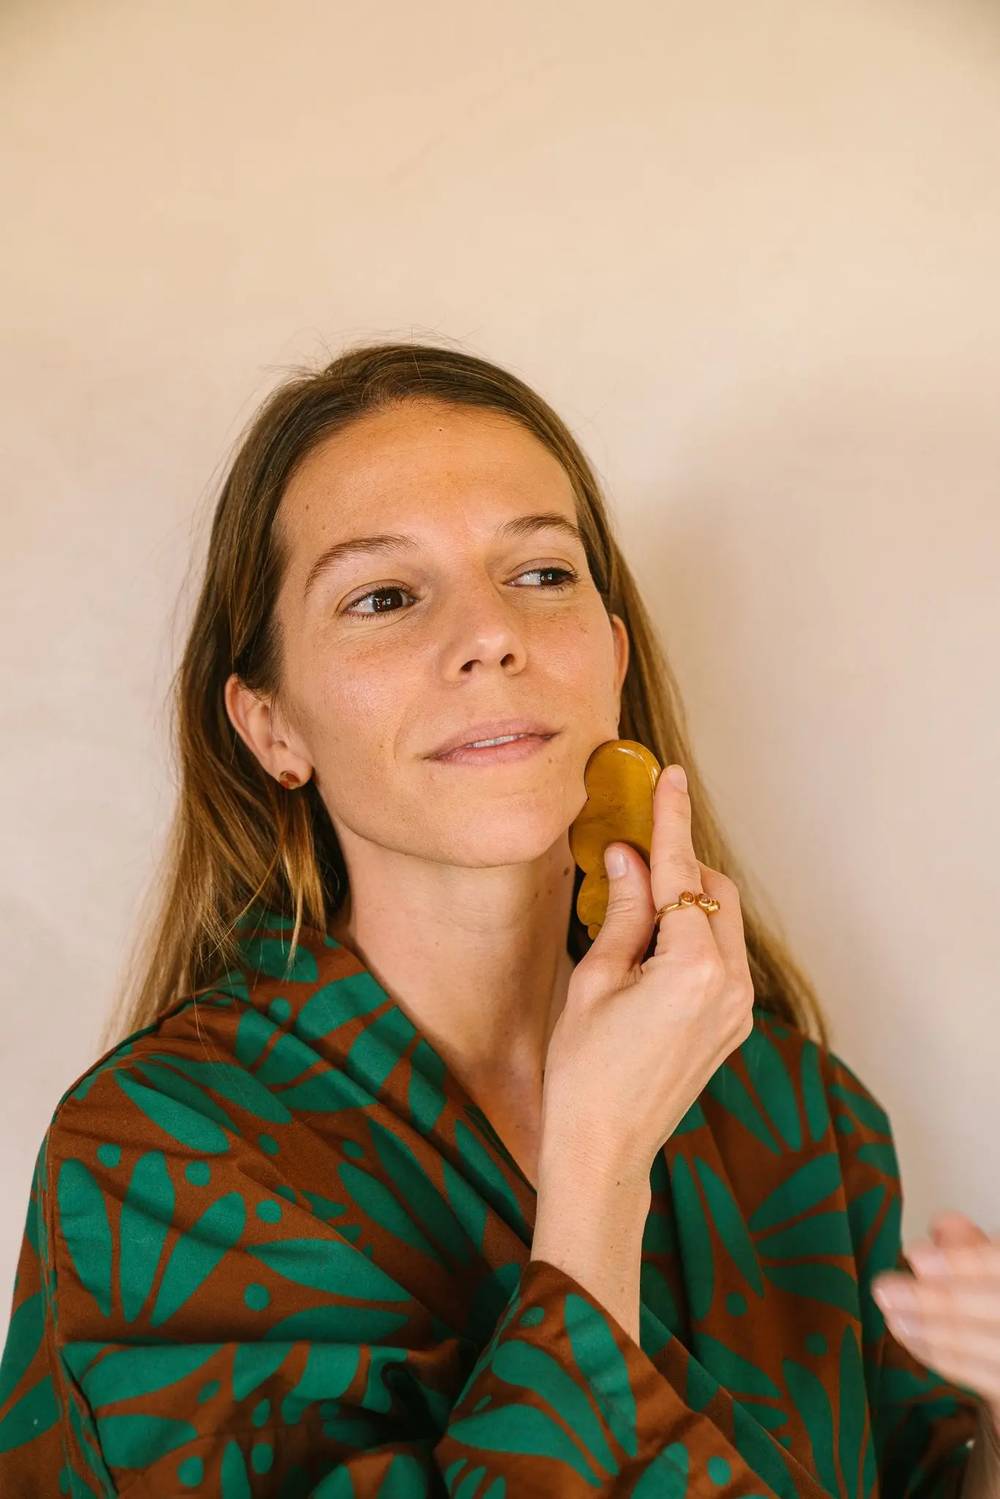
1. Start with clean skin, clean hands and a clean tool!
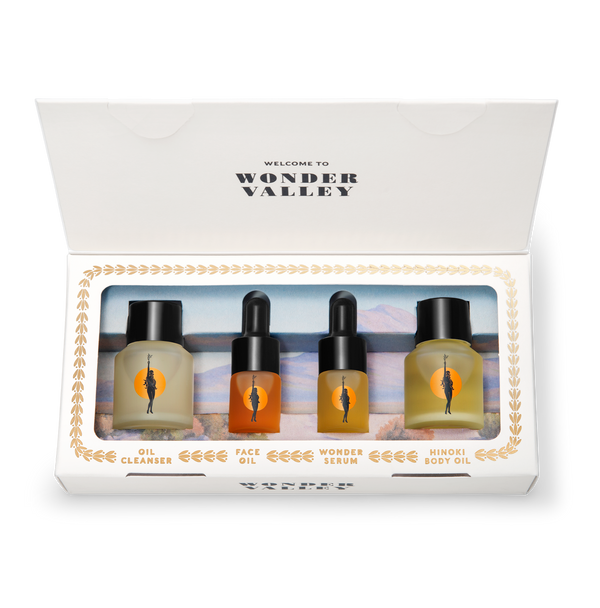
2. Apply about a quarter-sized amount of oil to your skin. (Before this step you can first mist your face with your favorite hydrosol or gentle toner to prepare your skin.) The amount of oil you apply is key. Too little and your tool won’t glide easily and will pull your skin. Too much and your tool will glide too easily, reducing its efficacy. Your tool should have a small amount of drag with a greater amount of glide. In Wonder Valley’s collection, I would choose the Face Oil which will provide a gorgeous “slip” and deliver skin-loving nutrients while you work.
3. The angle of your tool to your face is important. Generally it’s recommended to maintain a 15 degree angle. Not flat, but almost.
4. Strokes should move in an upward and outward direction. Pressure is light and your tool should glide easily, but not too quickly, over your skin.
5. Each stroke can be repeated roughly 3-10 times on each side of the face. Those with sensitive skin will want to start on the lower end.
6. The hand not holding the gua sha tool is used as the anchor next to where the gua sha tool begins by pressing the skin and creating a bit of tension.
7. End each stroke with a little extra pressure and a gentle wiggle of the tool.
8. Finish your gua sha routine by gently gliding your tool down your neck on both sides towards the clavicle. This will aid in the final flow and elimination of lymphatic fluid.
9. Always clean your tool with soap and water when your routine is complete. Be careful not to drop it! The oil will make it extra slippery. Porcelain sinks and tile floors are the enemy.
What Areas of the Face Should I Focus on?
A basic and comprehensive routine will work with these areas:
- Neck
- Jawline
- Cheeks
- Eyes, under and above
- Forehead
Taking it a bit further
You could look up tutorial videos that will highlight the proper techniques and increase your comfort with the process. You might also learn about acupressure points and energy meridians, both of which are well served by a gua sha practice. Additionally, you can consider using the long, flat side of your gua sha tool on other parts of your body, taking advantage of the aforementioned benefits for full body care. Simply trade face oil for body oil, like the Wonder Valley Hinoki Body Oil, and expand your self care routine.
Are there Times when Gua Sha is not recommended?
Yes! It’s best to refrain from gua sha if
1. Your skin is stressed, inflamed, sunburned, has abrasions or lesions or is in the midst of a cystic breakout. Also avoid moving the tool over large moles.
2. You have recently had a filler or botox injection.
3. You suffer from a bleeding disorder.
4. You are currently taking a blood thinner.
When Should I Perform Gua Sha? Morning? Night? How Often?
A morning routine is a great way to get your day started. Using your tool to wake up, de-puff and create glowing skin helps you start your day feeling good and ready to take on the world.
An evening routine, on the other hand, is a great way to de-stress and detoxify after taking on the demands of the day. Focusing on lymphatic drainage and releasing tension will help your body wind down and ready itself for sleep and repair.
You could even do both, daily, if your skin likes the attention and you have the time and energy to do so. The effects of facial gua sha are cumulative, meaning the more consistent you are, the better the results. I would recommend incorporating gua sha into your weekly routine in a way that makes sense for you and doesn’t feel overwhelming. And, listen to your skin. For some, a daily practice will work well and for others, a few days (or less) a week is best.
Gua Sha as Skin Care is Great, but can it be More?
Incorporating gua sha into your skincare routine for its listed benefits is a great way to up your self care game. Taking it a step further, I like to think about a gua sha routine as ritual, as a mindfulness practice. Inviting in intention through attention. This can look like beginning with some deep breathes or by placing your hands on your heart, connecting with the life-force within you, lighting a candle, burning incense, playing music. Additionally, a gua sha ritual is a beautiful way to prepare for a meditation practice. Caring for the physical form before connecting to your inner self and beyond. Cleansing and clearing the skin, opening energy channels, moving out lymph waste. I consider this as an honoring and a tending to. Like pulling weeds in a garden, making space for the bulbs planted beneath the soil to grow and blossom. I wonder, in what ways could you make your gua sha practice a ritual rather than simply a routine?
Meet the Esthetician